The grey Viking wrapped in sackcloth is a cinema invention. The real textile finds tell another story: bright red from madder, deep blue from woad, rich yellow from weld. This guide shows which dye plants the people of the Viking Age demonstrably used, how mordanting with alum works – and how to set up a dye bath yourself. To be honest: not a single Viking-Age recipe survives. Everything you read here is a careful reconstruction for reenactment and hobby, built on what chemistry can still measure in old woollen threads.
Say the word Viking and many people picture brown tunics and grey wool. That comes from television and old illustrations, not from the finds. In the graves of Birka, in the harbour layers of Haithabu and in the Oseberg ship burial, scraps of textile survived – and wherever scientists have examined them with modern methods, the same plant colours keep appearing: red, blue and yellow. Colour in the Viking Age was not a given but labour, and therefore value. A strongly and evenly dyed wool demanded raw materials, a mordant, firewood and many hours. That is precisely why it was a visible sign of wealth.
For us today that is good news: anyone drawn to genuine, historically grounded Viking culture – whether through reenactment, handcraft or plain curiosity – can recreate these colours with a few plants from the garden and the woods. For more on the craft behind it, see our articles on the dyer's craft and on weaving.
The most reliable source is not the sagas but laboratory instruments. Earlier studies in the 1990s used spectrophotometry and thin-layer chromatography; today dyes are analysed with high-performance liquid chromatography (HPLC-DAD). Tiny amounts of dye are dissolved out of the old thread and their chemical building blocks identified. This is how the blue pigment indigotin, which comes from woad, can be proven, or alizarin and purpurin, which belong to madder.
Across the textiles examined, three dyes appear again and again: woad (blue), madder (red) and weld or dyer's rocket (yellow). From Birka we know linens dyed with woad and madder; the same base colours turned up in high-status Danish graves and in Haithabu. On top of these, especially in fine pieces, came imported dyes such as kermes and European cochineal species – a sign that colour was also traded, not only made on the home farm.
Evidence: Dye analyses of Viking-Age textiles from Birka, Haithabu, Oseberg and Danish graves (Bjerringhøj, Hvilehøj) repeatedly identify woad (indigotin), madder (alizarin/purpurin) and weld (luteolin), plus occasional imported scale-insect dyes (kermes, cochineal). The colours are therefore certain – the actual dye recipes are not.
Not every fibre takes colour the same way. Animal fibres like wool are the most rewarding for plant dyes: they bind the dyes especially well through the mordant and glow strongly. Plant fibres like linen are more stubborn – they need more mordant, longer baths and often give paler tones. That is exactly why the finds hold so many strongly dyed wools, while linen more often stayed undyed or only lightly tinted. Silk, a luxury import of the elite, took colour brilliantly in turn; the famous silk bands from Oseberg are among the most splendid textile finds of the North. For a first attempt at home, pure sheep's wool is the best choice: forgiving, generous and historically sound.
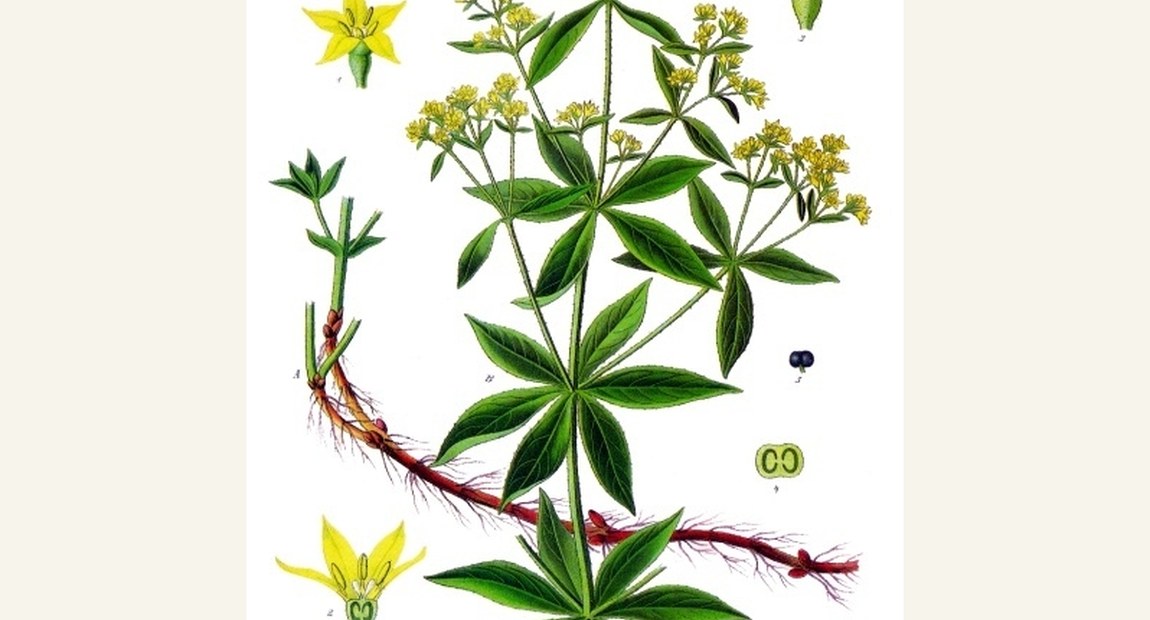
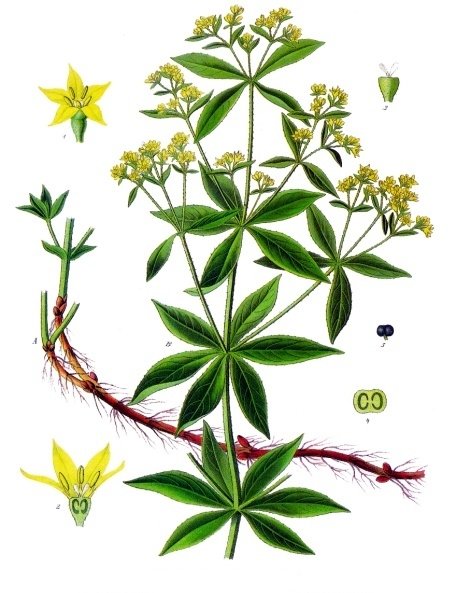
Madder (Rubia tinctorum) – red. The dye sits in the dried, ground roots, which only hold enough colour after two or three years. Depending on water temperature, hardness and pH, the result ranges from brick-red through terracotta to a deep red. Madder is the classic for strong reds and very lightfast.
Woad (Isatis tinctoria) – blue. Woad yields the same blue pigment as tropical indigo, only in lower concentration. The blue does not form in an ordinary decoction but in a low-oxygen vat: the wool comes out yellow-green and turns blue in the air – a small miracle that delights every dyer. Woad is the most demanding but also the most impressive colour.
Weld / dyer's rocket (Reseda luteola) – yellow. Weld gives a clear, bright and astonishingly lightfast yellow. It is the most reliable yellow source and was the standard yellow across Europe.
Birch leaves and onion skins – yellow to brown. Birch leaves give a warm, slightly green-tinged yellow; onion skins (the dry outer husks) a golden yellow to bronze-brown. Both are cheap, generous and ideal for first attempts – though the onion as a cultivated plant was only of limited availability in the Viking Age, so treat it as a modern, accessible alternative rather than a proven one.
Walnut – brown. The green outer husks of the walnut give a rich brown and will even dye without a mordant (they contain the tannin juglone). Walnut is the simplest brown source of all – just beware: it dyes skin and clothes just as reliably.
Lichens – brown, yellow, sometimes purple. Various lichens yield earth tones up to red-violet. Two honest notes: lichens grow extremely slowly and should never be stripped from an area wholesale; and some of the historically discussed lichen purples are uncertain in the sources. For beginners the plants above are the better choice.
Most plant colours only bond permanently to wool if the fibre has been mordanted first. The mordant is a metal salt that links dye and fibre and fixes the colour. By far the most important and safest mordant is alum (potassium aluminium sulphate) – a white, salt-like powder available from pharmacies or dye suppliers. It makes colours brighter and more lightfast and is harmless when used properly.
Historically the mordant question was more complicated. Alum was expensive and partly had to be imported. As alternatives, iron-bearing substances (which darken and "grey" colours) or plant tannins were used; stale urine, thanks to its ammonia content, also served as an aid, especially when setting up the woad vat. For you at home the rule is: stick with alum. You can use an iron mordant very sparingly as a "saddener" for muted tones (a rusty nail in the bath is enough) – but always knowing that iron makes the fibre brittle if overdosed. We advise against historical urine recipes for hygiene reasons; they belong in the history of knowledge, not in the home kitchen.
Many shades can be built from the three base colours. Green comes from dyeing yellow (weld) first and then blue (woad) – or the other way round. A warm orange is reached through yellow plus madder. Purple shades were rare and costly in the Viking Age; they came most likely from imported scale-insect dyes, not from native plants. If you want to stay authentic, keep to the attested triangle of red, blue and yellow and the intermediate tones you can mix from them.
Before a single thread ever sees colour comes the harvest. Madder roots are dug up in autumn of the second or third year, washed, dried and ground – only then do they hold enough dye. Woad is harvested as leaf mass and traditionally worked into balls that are fermented before the blue can be won; that is the most demanding part and the reason blue clothing was so valuable. Weld is cut in flower, while onion skins and walnut husks are simply gathered through the year. Anyone who dyes soon notices: the real effort lies not in the dyeing but in sourcing and preparing the dyestuffs. It was precisely this labour that made a coloured garment so precious in the Viking Age.
Alongside the three great dyes, the North knew many humbler sources that still grow along paths and woodland edges today. Tansy, yarrow and dyer's chamomile give yellows; alder bark, oak bark and oak galls bring brown and act as a tannin that makes colours richer; heather yields a restrained yellow-green. Much of this is less securely attested in the sources than madder, woad and weld – so treat it as a plausible but unproven addition. For the twenty-first-century dyer they are a gift: free, everywhere available and ideal for developing a feel for decoction, temperature and mordant before venturing onto costly madder or the demanding woad vat. Gather only what is plentiful, and leave protected species standing.
An evenly deep-red or clear-blue wool was no accident. It showed that a household had access to madder or woad cultivation, that someone had the time and knowledge for the vat, and could afford the costly alum. Imported colours such as kermes marked the top of society. Clothing was thus also language: to wear colour was to speak of rank, wealth and skill. It is precisely this bond of craft, material and meaning that fascinates us at Glanz & Gravur about Norse culture – and that we want to pass on honestly in our engravings rather than serving kitsch.
Plant-dyed wool is alive: it changes over the years, fades gently and gains through that very quality its warm, understated character, which has nothing in common with garish chemical colours. Well-mordanted tones from madder, woad and weld are astonishingly lightfast; quick yellows from onion or birch are more delicate. Wash dyed pieces cool, with mild soap and without vigorous rubbing, and dry them in the shade. Avoid prolonged blazing sun. That way a self-dyed garment stays a piece of lived history for years – not a museum object but something meant to be worn.
Madder dyed too hot turns brown instead of red – be patient and stay under 70 °C. Too little mordant gives pale, quickly fading results. Hard, chalky water shifts shades (with madder towards orange); soft water or rainwater helps. And keep a small dyeing diary with plant quantity, wool weight, temperature and time. That is the only way to repeat a good red next time – for the old dyers worked with experience, not recipe cards.
Whoever means to weave in winter gathers wool on a summer day – so the old proverb holds that every finished colour begins as mere store, labour and foresight.after Old Norse gnomic verse; translation: Glanz & Gravur
Myth check: There is no surviving Viking-Age dye recipe – no quantities, no temperatures, no procedures. Everything taught today as "Viking dyeing" is reconstruction from dye analyses plus experimental archaeology. Equally false is the image of the grey, undyed Viking: the finds show coloured clothing. And on mordanting: alum is safe, while historical iron and urine mordants belong in the explanation, not untested in practice – iron makes wool brittle if overdosed.
Dyeing – the colours of the Vikings · Viking Weaving · Viking clothing & fashion · The Bead Maker.
All Everyday Life & Craft articles →
Matted hair, unwashed for years, reeking across the meadhall – that is the Viking of cliché. The finds tell another …
Read more →When we picture Viking art, we see runestones, silver jewellery and golden brooches. Yet the true material of the North …
Read more →Unwashed, lice-ridden barbarians with greasy beards? Or the cleanest people of their age? Both pictures cling …
Read more →Coarse brown sacking, a shaggy fur collar, and of course the obligatory horned helmet – that is the Viking of film and …
Read more →