When we picture Viking art, we see runestones, silver jewellery and golden brooches. Yet the true material of the North was wood — and almost all of it has perished. What survived in burial mounds and waterlogged ground reveals a carving art of breathtaking density. This page walks through what remains, through tools and technique, and offers an honest guide to carving a simple animal-style relief yourself.
We nearly always judge past cultures by what happens to survive — and that is unfair. From the Vikings we have metal, stone and ceramics, because they endure in the soil. Wood, by contrast, rots within a few decades once it meets air and moisture. This produces a skewed picture: we imagine the Vikings as a people of smiths and stonemasons, when in fact their daily life was surrounded by wood from morning till night. Houses, ships, wagons, beds, doors, drinking vessels, spoons, chests, gaming pieces, looms, tool handles, fences, boats, skis, sledges — practically the whole of the household and all of the heavy engineering was made of wood.
And this wood was not bare and rough. Wherever Vikings made an object, they liked to adorn it. A bedpost became an animal head, a sledge board a carpet of tendrils, a church portal a surging sea of serpent bodies. It is reasonable to assume that the intricate patterns we know from metalwork actually originated in woodcarving — cheap, ubiquitous wood was the true stage of Norse ornament, and precious metal only its expensive copy.
The few wooden finds we have we owe to two accidents: either an airtight, damp soil that kept the decay bacteria away, or a burial chamber sealed beneath a mound. The waterlogged ground of trading places such as Hedeby and Dublin has preserved thousands of wood fragments — spoons, combs, handles, coopered vessels, half-finished lathe work. They show the ordinary business of the workshop.
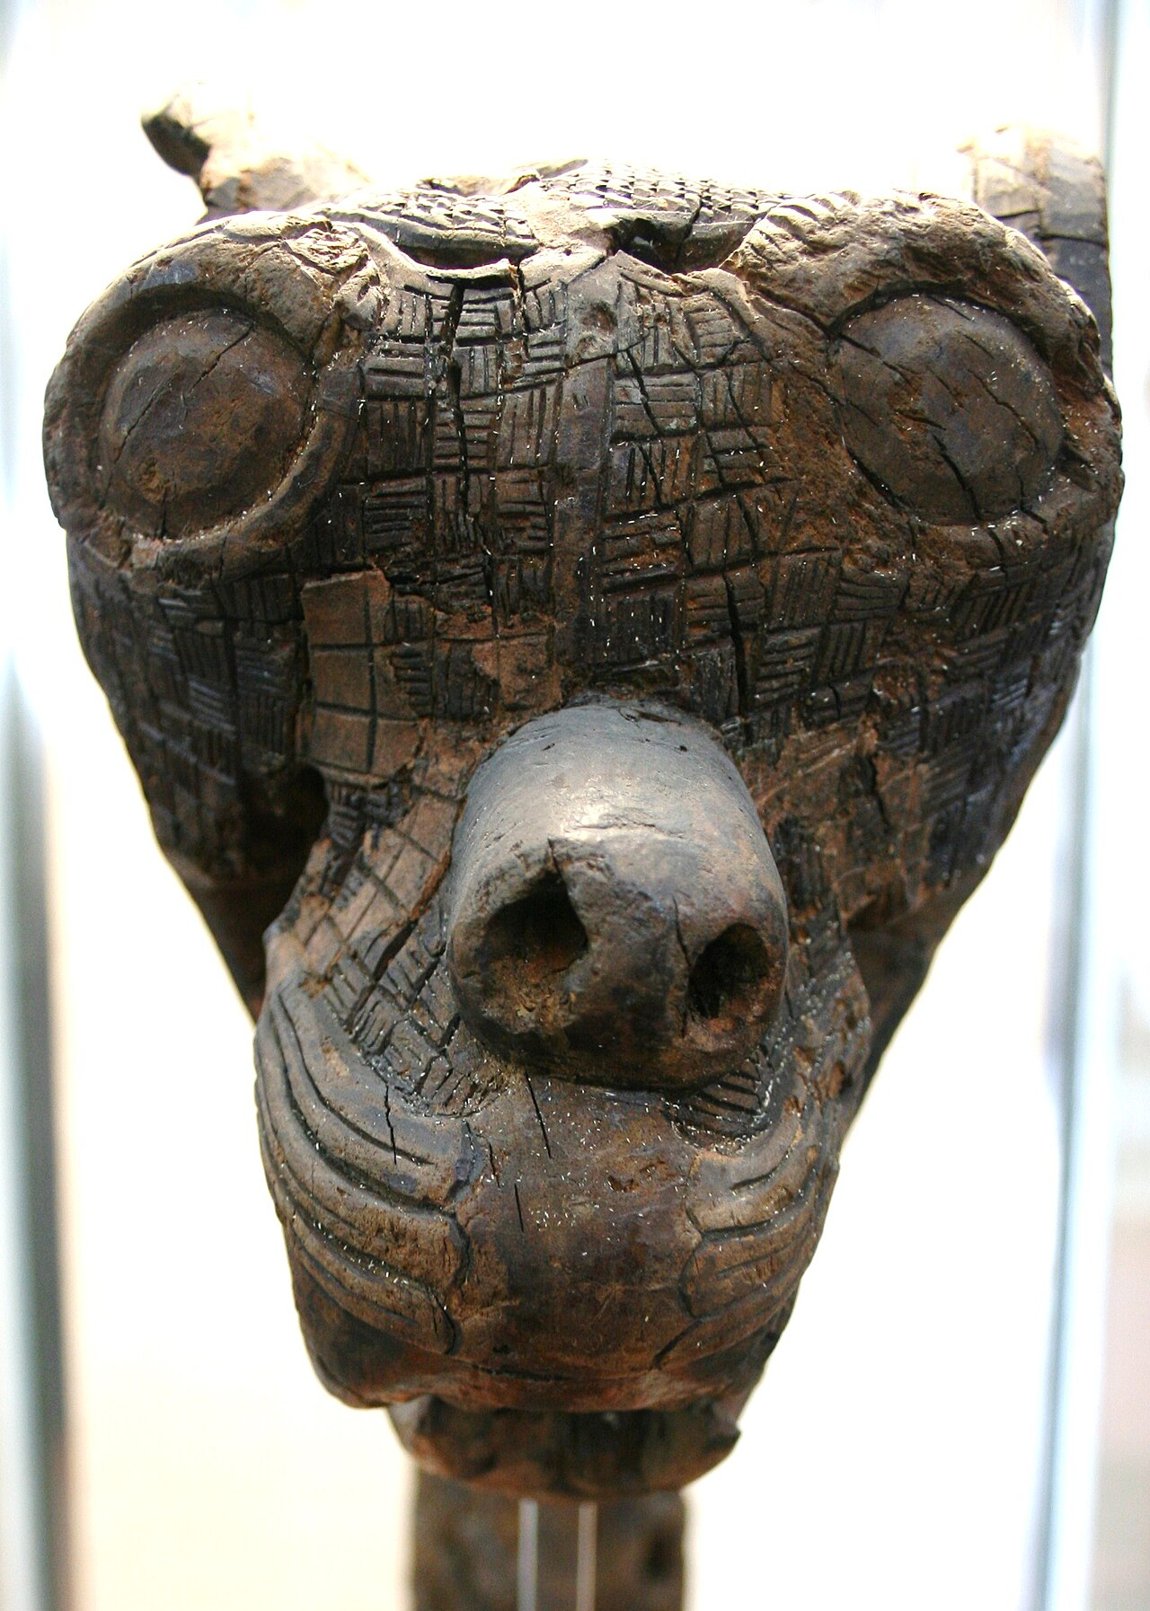
The great art, however, we know above all from a single find: the ship burial of Oseberg in Norway, dated by dendrochronology to the year 834. Beneath the mound lay not only the richly carved ship but a four-wheeled ceremonial wagon, several sledges, bed frames and five carved animal-head posts. No other find offers so deep a view of what Norse carvers could do when they gave their best.
For the late Viking Age the stave-church portal of Urnes on the Lustrafjord (around 1130) is the key piece: slender quadrupeds and serpents interpenetrating in endless, elegant loops. This style is so defining that the entire final phase of Viking art is named after it — the Urnes style.
What is special about Oseberg is that several distinct hands can be told apart here. The scholars who studied the material gave the individual carvers nicknames, because they recognised each one's personal style in the tool marks and the composition. To this day research speaks of the Academic (Akademikeren), whose work is strict, clear and controlled, and of the Baroque Master (Barokkmesteren), whose animal head overflows with wild, densely interwoven gripping-beast ornament.
This is remarkable: we know not a single name of these artists, and yet across more than a thousand years we can read their personality in the run of the cut. One is the perfectionist, the other the exuberant. That is precisely what craft is — the maker's hand stays in the piece. Anyone who carves or engraves today steps into exactly this tradition.
We know the Vikings' tools very precisely, because a complete tool chest survives: the chest from Mästermyr on Gotland, sunk in a bog around the year 1000, holding some 200 tools for both smith and woodworker. It is our best source for what actually lay in a workshop.
The woodworker's basic kit was modest and feels familiar even now:
To these were added draw knives, plane forerunners, files and punches. The astonishing thing: with this handful of implements they produced work that fakes machine precision.
Here lies one of the most important and most frequently misunderstood points. A Viking carver did not reach for a saw to make a board. He split the trunk radially — like a cake into slices — along the natural grain. This produced wedge-shaped planks that were then worked flat with axe and adze.
This is not backwardness but a higher art: radially split wood follows the grain, does not tear, barely warps, and is markedly stronger than a sawn board whose fibres are cut through. From a single oak one could win dozens of even planks for a ship this way. Saws were known, but they played a minor role in woodworking — they were laborious to make and blunted quickly. The image of the Viking sawing boards is a modern misconception (see the myth-check below).
Norse carvers essentially mastered three techniques, often combined:
Chip carving is the oldest and simplest: with the knife, small triangles and grooves cut against one another are lifted from the surface. This creates geometric patterns, plaited bands and fillings. Chip carving needs little equipment and is the ideal way in.
Flat relief is the heart of the great animal styles. The motif is left standing on the surface while the ground all around is lowered. This makes animal bodies and tendrils stand out three-dimensionally without the material being fully pierced. Almost all Oseberg carvings are flat relief.
Openwork finally cuts openings right through the wood, so that a lattice of ornament results. It is known from chair backs, sledge frames and the open scrollwork of the showpieces. It is demanding, because the thin, pierced wood breaks easily.
Viking art is not a narrative pictorial art like that of antiquity but pure ornament. Over some three hundred years it changed in recognisable stages, which research has named after find-spots. The Broa and Oseberg style (8th/9th century) brings forth the gripping beast — small animals gripping the frame and one another with their paws. The Borre style relies on the ring-chain pattern and squat animals. The Jellinge style stretches the bodies into ribbon-like, s-shaped serpents. The Mammen style fills them with tendrils and lobes. The Ringerike style lets elegant floral tendrils proliferate. And the Urnes style finally dissolves everything into the slender, interpenetrating loops that gave the church portal its name.
For your own work this means: a clean animal-style motif follows rules. It is symmetrical or rhythmic, the bodies form closed loops, there are no empty areas, and the bands cross over and under in alternation — like a real weave.
This guide is deliberately meant as a modern beginner's way in — with today's tools, but in the spirit of the old technique. Take your time; a first relief does not come together in one evening.
Knowest how one shall write, knowest how one shall rede? / Knowest how one shall tint, knowest how one makes trial? / Knowest how one shall ask, knowest how one shall offer? / Knowest how one shall send, knowest how one shall sacrifice?Hávamál, stanza 144, translated by Henry Adams Bellows, 1923 (public domain)
The line from the Hávamál sounds mysterious, and indeed a great deal of esotericism has grown up around the carving of runes into wood. The evidence is more sober. Runes were constantly carved into wood — onto tally sticks, ownership marks, message staves, trade notes. The great body of Bryggen inscriptions from medieval Bergen shows business letters, name tags and coarse jokes on wooden sticks. That was simply writing, as others wrote on parchment. Putting runes into wood was everyday practice, not magic (more on this in the myth-check).
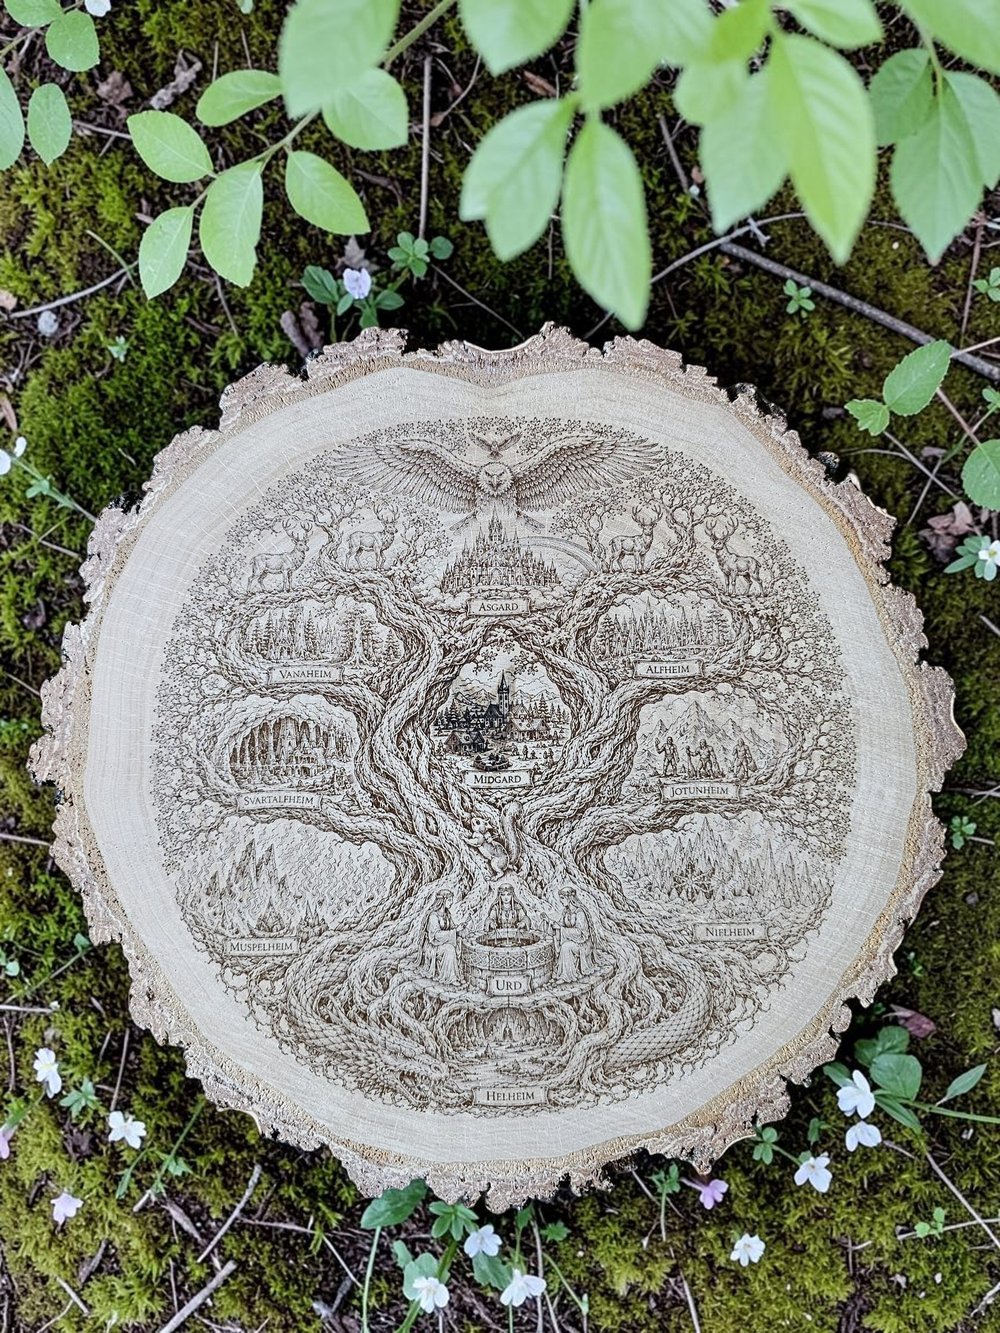
The bond between wood and Norse ornament is no accident at Glanz & Gravur. Our wood discs are hand-ground and oiled — the same basic idea as the Viking-age carver who protected his finished work with oil so that the grain would live and the motif gain depth. Where the carver of Oseberg worked with chisel and knife, we use the laser: precise, repeatable and gentle on the material. The goal has stayed the same — a piece of wood that carries a story.
Anyone who wants to take up the knife themselves should be encouraged: the old masters had no machines, only sharp iron, good wood and patience. Their work endures where the soil protected it — and their hand is still legible today. That is exactly the appeal of craft: what you make carries your hand within it.
The Oseberg ship & the two women · Drawing Animal-Style Ornaments · The Mästermyr tool chest · The Urnes portal – the last animal style · Viking-age art styles.
All Everyday Life & Craft articles →
Unwashed, lice-ridden barbarians with greasy beards? Or the cleanest people of their age? Both pictures cling …
Read more →Coarse brown sacking, a shaggy fur collar, and of course the obligatory horned helmet – that is the Viking of film and …
Read more →